

You’ve seen it happen. Those Pinterest-perfect string lights that looked amazing in October are now sagging like wet spaghetti by December. Or worse—half the strand is dangling after last week’s windstorm.
Here’s the truth: most DIY string light installations fail within the first year because people skip the fundamentals. But when you know the right techniques, your lights can survive Florida hurricanes, summer heat, and everything in between.
What you’ll learn:
- The 5 mounting methods that actually work (and which ones to avoid)
- How to calculate proper tension and spacing for zero sag
- Weather-proofing secrets professionals use
- Quick fixes for common installation mistakes
- Year-round maintenance that takes minutes
If you want to skip the trial and error, Trimmers Holiday Decor has been hanging lights across Florida for 33 years. We handle everything from design to installation, and our commercial-grade LED strings come with maintenance included. But if you’re tackling this yourself, let’s make sure you do it right.
The 5 Mounting Methods That Actually Work
Most string light tutorials show you methods that look good for a week. We’re talking about installations that last.
1. The Screw Hook Method (Best Overall)
Zinc-plated screw hooks are your workhorses. They hold up to 35 pounds when properly anchored and won’t rust after three months.
- Where it works: Wood surfaces, covered patios, deck posts
- Installation depth: Minimum 1.5 inches into solid wood
- Pro tip: Pre-drill holes at ⅔ the screw diameter to prevent splitting
2. Guide Wire System (For Long Spans)
Running lights across 20+ feet? You need a steel guide wire. String lights alone will sag—physics doesn’t care about your optimism.
Setup basics:
- Use 1/8″ galvanized steel cable
- Install turnbuckles for tension adjustment
- Attach lights with zip ties or carabiner clips every 12-18 inches
3. Adhesive Clips (Renter-Friendly)
Command strips get all the attention, but outdoor-rated adhesive clips from 3M can hold 5 pounds per clip on smooth surfaces.
- Best surfaces: Vinyl siding, metal, sealed concrete
- Skip these: Brick, stucco, unpainted wood
4. Magnetic Mounts (Metal Surfaces)
Neodymium magnetic hooks are basically cheat codes for metal pergolas and steel beams. Each magnet holds 25-50 pounds—your lights weigh maybe 2.
5. Post-to-Post Suspension (Open Yards)
No existing structures? Create your own with 4×4 posts in concrete footers. Space them 15-20 feet apart maximum.
- Quick math: Posts should be ⅓ underground. Want an 8-foot height? You’re buying 12-foot posts.
Trimmers Holiday Decor often combines multiple methods for commercial properties—like using guide wires with decorative posts for those grand entrance displays you see at country clubs.
How to Calculate Proper Tension and Spacing for Zero Sag
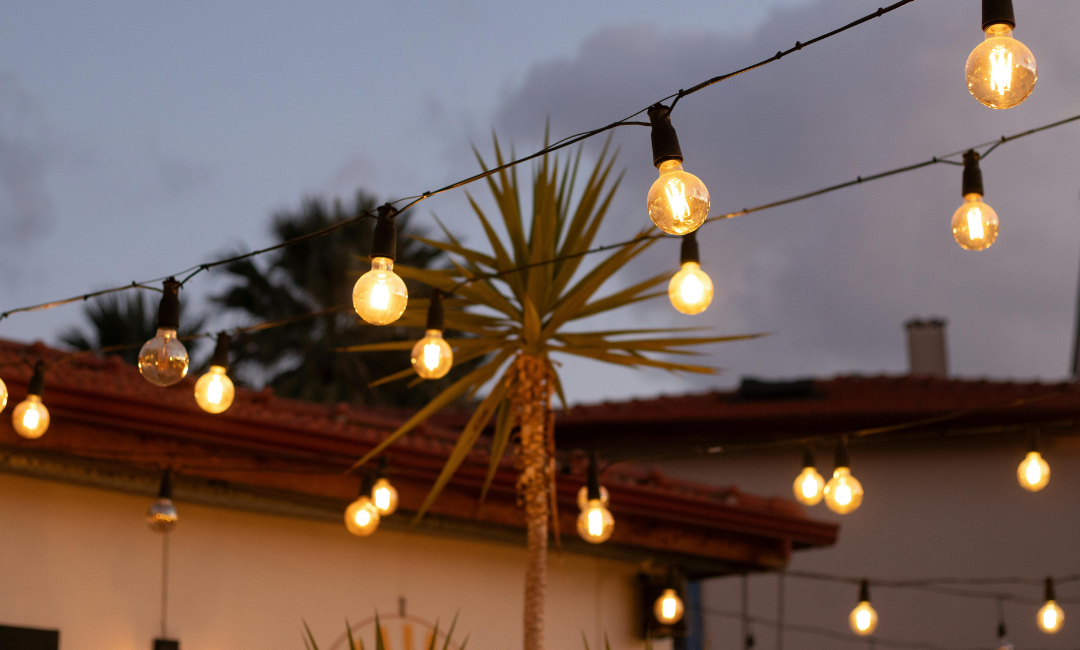
Here’s what nobody tells you: string lights follow the catenary curve principle—the same math that keeps suspension bridges from collapsing. You don’t need an engineering degree, just these measurements.
The 5% Rule
For every 10 feet of span, your lights should dip 6 inches at the center point. Any tighter and you’re asking for snapped cords. Any looser and you’ve got the sad-strand syndrome.
Quick formula:
- Measure the distance between anchor points
- Divide by 20
- That’s your maximum sag in feet
Example: 30-foot span between trees? Plan for 1.5 feet of sag. Fighting this means fighting gravity—and gravity always wins.
Spacing Between Bulbs
Standard patio string lights come with 12-24 inch spacing. But here’s the trick: your support points need different math.
- Light strands under 25 feet: Support every 8-10 feet
- Industrial string lights (heavier bulbs): Every 5-7 feet
- Solar lights (lighter weight): Can stretch to 12-15 feet
When hanging lights across your backyard for that wedding reception, add guy wire support at the central point of any span over 20 feet. Your future self will thank you when those lights are still perfect after six months.
Weather-Proofing Secrets Professionals Use
Florida weather doesn’t play nice with outdoor lights. One day it’s blazing sun, next day it’s sideways rain. Here’s how to prep your outdoor space for anything.
The Connection Game
Water kills electrical connections faster than you can say “backyard party.” Every connection point needs protection.
Professional move: Wrap each bulb socket connection with self-fusing silicone tape, then cover with electrical tape. Double barrier = double protection. Skip this and you’ll be replacing light strands every few months.
Wind Resistance Tactics
Those Instagram-worthy Edison bulbs? They’re basically tiny sails. Secure light cord every 18 inches in windy areas—not just at poles.
Materials that work:
- UV-resistant zip ties (black ones last longer)
- Coated wire twist ties for temporary setups
- Carabiner clips for easy seasonal removal
The Drainage Detail
Create a “drip loop” before any outdoor outlet connection. The cord should dip below the outlet level, then come back up. Water follows gravity down the cord and drips off instead of into your outlet.
Quick Fixes for Common Installation Mistakes
We’ve all been there. You spend a few hours hanging patio string lights, step back, and… something’s off. Here’s how to fix it without starting over.
Problem: Sagging Middle Section
Your lights look great at the ends, but droop like a hammock in the middle.
- Fix: Add a support wire or rope above the string lights, then attach every third socket with small zip ties. Takes 20 minutes and saves your entire installation.
Problem: Uneven Light Heights
One end sits higher than the other structures, creating a lopsided look.
- Fix: Use eye bolts with different insertion depths to fine-tune height. Or create a false ceiling effect with a guide wire at a uniform height—hang outdoor string lights from that instead of directly to your house.
Problem: Dead Zones Between Strings
You’ve got bright spots and dark gaps that kill the ambiance.
- Fix: Overlap the last 2-3 feet of each strand. Yes, you’ll have slightly brighter zones at connection points, but it beats dark patches at your outdoor party.
Problem: Extension Cord Chaos
That orange extension cord running across your deck railings isn’t the vibe.
- Fix: Use outdoor-rated brown or green cords that blend with fence posts. Route them under railings, not over. For permanent setups, consider conduit painted to match your house.
Year-Round Maintenance That Takes Minutes
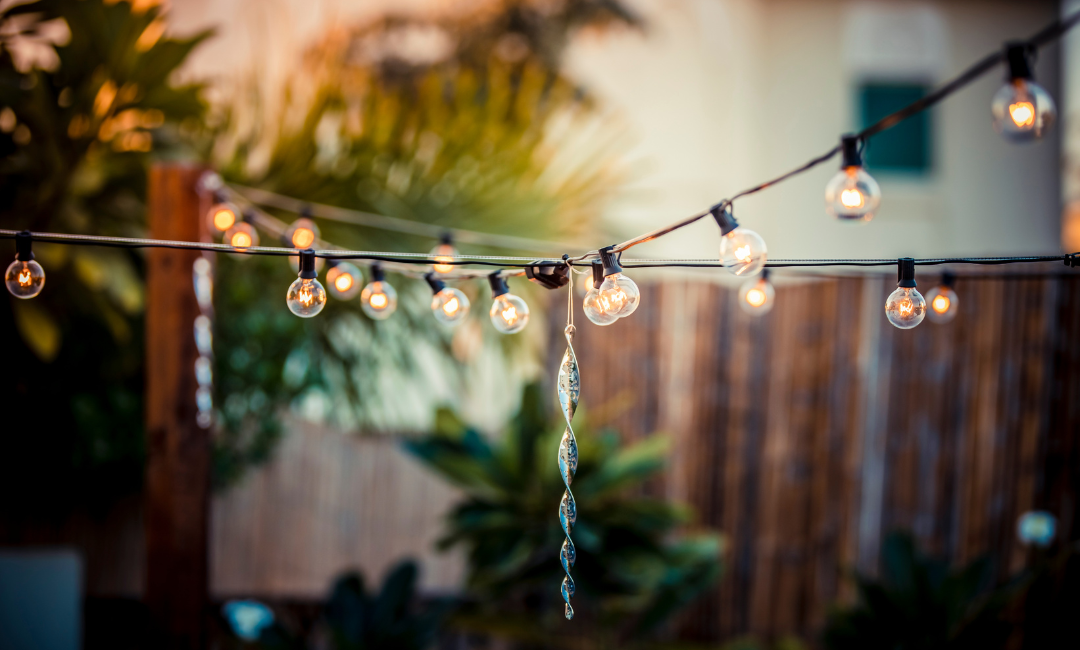
The difference between lights that last one season and ones that survive years? Maybe 10 minutes of maintenance per month.
Monthly Quick Check (2 minutes)
Walk your back patio and look for:
- Loose connection points
- Sagging sections
- Burnt-out bulbs (replace immediately—they cause cascade failures)
Quarterly Deep Clean (8 minutes)
Every three months, grab a microfiber cloth with glass cleaner. Wipe each bulb. Dirty bulbs lose 30% brightness and burn out faster from trapped heat.
Pro technique: Work when the lights are cool, preferably morning. Check that male plug connections are tight—they loosen over time from thermal expansion.
Annual Tension Adjustment
Once per year (ideally spring), retension your lines. Ground settling and temperature changes mean those perfectly taut lines from installation day need tweaking.
For perspective, Trimmers Holiday Decor maintains thousands of light installations year-round across Florida properties. Our commercial clients keep their patio lights pristine because we handle this maintenance cycle automatically—it’s fairly easy once you establish the routine.
Storm Prep Simplified
Hurricane season? Don’t remove everything. Just:
- Unplug from power sources
- Add extra tie-downs every 6 inches
- Remove glass bulbs if winds exceed 50mph (store in egg cartons)
Your poles and infrastructure stay put. Bulbs pop back in post-storm in under an hour.
Bottom line? Proper installation means minimal maintenance. Hang patio lights right the first time, and you’re looking at maybe 40 minutes of work per year to keep them perfect.
Skip the Ladder Drama with Trimmers Holiday Decor
You’ve got the ultimate guide to hanging lights that actually last. No more rehanging every season, no more sagging disasters at night, no more wondering why your neighbor’s setup looks better.
Key takeaways:
- Use proper mounting methods (screw hooks or guide wire for permanence)
- Calculate 5% sag for physics-friendly installations
- Weatherproof every connection point with silicone tape
- Support lights every 8-10 feet to prevent drooping
- Spend 10 minutes monthly on maintenance to avoid hours of repairs
Look, you could spend weekends perfecting your setup, or let Trimmers Holiday Decor handle it. We’ve already made every mistake in the book over 33 years, so your lights strung by our team stay perfect through Florida hurricanes and summer heat—guaranteed.
FAQs
How to hang outdoor string lights without nails or drilling?
Three solid options when you can’t drill: adhesive hooks rated for outdoors (hold 5 pounds each on smooth surfaces), magnetic hooks for metal structures (25-50 pound capacity), or clamp-style hooks that grip deck railings and posts.
For a diy fire pit area with no permanent structures, consider weighted umbrella stands with tall poles—no dig holes required. Just ensure your rough sketch includes proper spacing between these temporary anchor points.
Will command strips hold string lights?
Regular Command strips work indoors, but outdoors? You need the outdoor-rated version that handles temperature swings. Even then, they max out at 5 pounds and work best on smooth, sealed surfaces.
Skip them on brick, stucco, or untreated wood. For new string lights over 20 feet, Command strips alone won’t cut it—you’ll need support every 6-8 feet or risk finding your lights on the ground.
Do you need wire to hang string lights?
Not always, but spans over 15 feet benefit from guide wire support. Without it, your lights sag no matter how tightly you hang string lights initially. The cord itself can’t handle the tension needed to stay straight.
Think of guide wire as invisible insurance—it takes the weight while your lights create the ambiance. The idea seems like overkill until you see the difference after three months.
How to hang patio lights at Home Depot?
Home Depot stocks everything you need in its electrical and hardware aisles. Head straight for: outdoor-rated screw hooks (aisle with chains/rope), vinyl-coated wire and turnbuckles (fencing section), and outdoor extension cords (electrical).
Pro tip: Skip their basic string lights and invest in commercial-grade LED strands—they’re near the contractor supplies. Grab the male plug closest to the heavy-duty options. While you’re there, get extra bulbs. When you attach string lights, having spares means no dark spots when (not if) bulbs fail.


